Monday, 23 December 2013

Addition

This exercise looks at “improving” a conventional landscape image in a variety of ways:
1. Taking two images (one exposed for the sky and one for the land) and combining the two using Photoshop to erase the overexposed sky, leaving behind the sky with the correct exposure.
2. Taking two images (one exposed for the sky and one for the land), combined the two using Photoshop then cut out the sky to reveal the well exposed sky and landscape.
3. Combining the same two images in a HDR software (included in Photoshop CS3)
4. Combining the two images using blending software in Photoshop CS3.
5. Taking the sky from another image and adding into the original landscape exposure image and blending the image together.
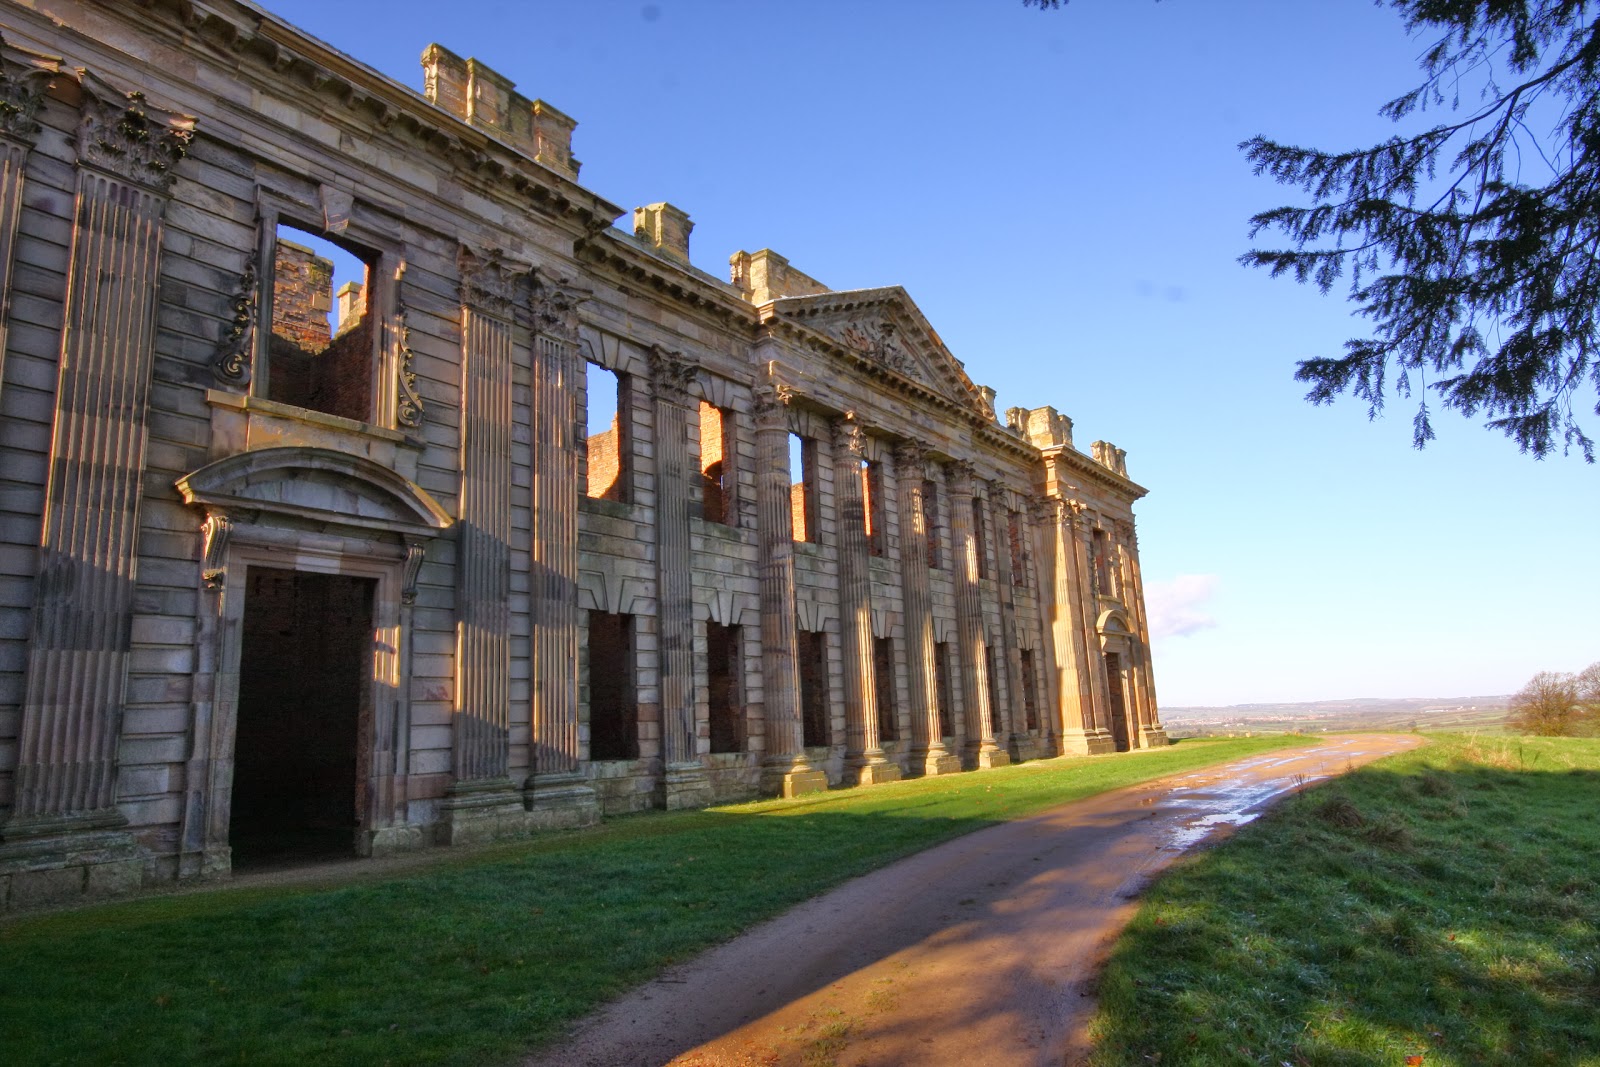
 Original
Optimized sky

Optimized landscape
 Image 1
Tippings wood addition 1 erased sky


To achieve this image, I cut and pasted the image with overexposed sky onto the correctly exposed sky. Using the erase tool, I rubbed out the overexposed sky, leaving behind one correctly exposed image.

Is this acceptable?
When viewed at 100%, the mist rising up from the trees is still visible, although there is a dark line where I have used a soft brush to soften the join between the two images. As a first attempt, I thought this looked acceptable. It took patience and for me the issue of how much time I would like to spend editing an image was raised.

Image 2
Tippings Wood addition 2 cut out sky


This was achieved by pasting the image with an overexposed sky on top of the correctly exposed sky and refining the edges.

Is this acceptable?
At 100%, the trees in the background, appear  as an overexposed distracting line. I Thought this way of combining the images did not work so well. It was quicker, but not as effective.

Image 3
HDR in Photoshop CS3 software

I combined two images using the HDR software in CS3.

Is this acceptable?
After setting up the images, the computer produced a version which was unacceptable to me. The sky has a large area of burnout. The field and gate were ok. I could in future try combining more images of different exposures rather than just two (although I did not take them on this occasion).

Image 4
Combined using blending software Photoshop CS3
Following Gulbins and Steinmueller (2011) P256 instruction on blending images, I used the following method to achieve the above image:
> Select, copy and paste the correctly exposed sky image onto the overexposed sky image
> Select > colour range to select the sky > set fuzziness > ok
> Select refine edge > set feathering of pixels > view in different versions
> Flatten image

Is this acceptable?
At 100% this looks ok. Once I understood the process, I thought this was quite easy to do and very similar to version 1 (using the eraser tool), but less time consuming.

Image 5
Sky

Sky added from another image
I started off trying to add a smaller piece of sky and found gaps in the photo with no pixels. I decided this was the time to start creating a bank of skies. Using my first complete image of sky, I was able to add the landscape as a layer behind the sky using an on line tutorial from Patterson (accessed 22/12/13).

This method involved making a mask and using sliders to blend in the sky. After having done this a few times to perfect my initial  attempt, I was fairly pleased with the result. I think it may be easier to use a graphics tablet rather than the pad on my laptop as there are a couple of areas such as around the tree when viewed at 100% where it is not quite perfect. I considered the colour of the sky, although this can be adjusted before adding using curves, and the amount of blending is to my taste.

Conclusion
I had not explored the world of altering images in this way, although I have several colleagues who enjoy manipulation similar to this and who have shared their experiences with me. I had previously thought that Photoshop’s software held the key to HDR photography, and this exercise challenged that belief. I was disappointed with my result. I think the best results I had were with the blending two images (image 4) and changing the sky (image 5). As for whether it is legitimate to alter a photograph in this way; I think it is acceptable to enhance an image providing considerations are taken into account such as direction of the sun, shadows, reflections, are taken into account, especially if the sky is dull and lacks interest. The experience of viewing the photograph has to be believable.

Bibliography
Gulbins. J, Steinmueller. U, (2011) The Digital Photography Workflow Handbook, Rocky Nook, CA

Tuesday, 10 December 2013

Improvement or interpretation?

Whilst researching and experimenting with taking photos of mountain bikers, I discovered that to give the photograph real impact, flash was necessary when working in the forest.

This image was taken at 7:45pm on a summers evening when my husband was just about to cross the finish line at a local race night. I had not anticipated that a low sun and all the trees would affect the exposure  quite so much. He was also wearing dark clothes so blended in with his surroundings well.

In order to give the image maximum impact and make the rider visible stand out from the background, I had to edit the photo in Photoshop.

Using the magic lasso tool in Photoshop, I learnt to follow the outline of the figure using the pad on my computer. I think it would be easier to control and set the points with a graphics tablet and pen. Despite my best attempts at redoing the shape with the tool several times, using the feathering tool and refining the edge, I was not happy with the outcome. I tried using the magic wand but this selected too much background and did not seem to differentiate between the colours of the rider and the trees. Once I had selected the area to be worked on, I decided that the colour temperature needed adjusting. I opened levels and tried an area of grey to sample but could not get it quite right. I selected the white dropper which seemed to correct the colours. I checked the black and white points which were OK.
Original
Edited


I did find this a bit fiddly to do and thought that the results did not look that professional. However, it corrected the colours of a small area and made the rider stand out.  The pixels of the grass and legs were not found automatically by the tool, and it had difficulty distinguishing between the black clothes and black bike. Even the helmet caused confusion.

Do I think it is acceptable to alter the image like this? Yes because it enhances what I saw originally. However, I think it would still be better to get the exposure right in the camera or use flash in this situation to lift the rider out from the background. When looking at this type of photography, I discovered that it would be better if my husband was wearing a more colourful top. Red or orange would have made him stand out against the background, so I think an important element is planning and communication. I would not go so far as to deliberately change the colour of his kit in post processing because I like to record the event as it was. 

Reading an article in Mountain Biling UK (Summer 2012) Darkins et al suggested that "Jamie, maybe upset at how I've dressed him, proves his dowhill abilities and is gone". It confirmed to me that the writer (and perhaps the photographer) had thought about how to make the subject stand out against the natural background of the Gower Peninsula. Unfortunately, I couldn't work out from the photographs which rider Jamie was; the establishing shot contained three riders (one blue, one black and one red top). The red shirted rider only appeared in two of the eight photographs, so maybe he was dressed in red!


Reference
Darkins, M (2012) The Gower Peninsula,Mountain Biking UK Summer 2012 Issue 280 Future PLC UK p199


Bibliography

Steinmueller, U, Gulbins J, (2011) The Digital Photography Workflow Handbook, Rocky Nook, CA p124

Monday, 9 December 2013

Corrections

Dust spots
The first part of this exercise looked at removing dust from an image. I had been used to using the clone stamp tool to remove dust as one of my lenses has dust on it that appears in the same place every time. I read up on how to use a tool in light room to remove dust and was surprised at how simple it sounded.
Taking one of the original  images taken for my last assignment which I knew had dust in the sky, I viewed it in Lightroom. There were 4 visible dust spots.

Using the following method, I removed the dust spots:
Develop > spot removal tool > check size (alter size with slider) > check opacity (100%)> left click > close

(No further alterations made)

Original JPEG
This worked effectively and remarkably quickly and easily.
I had used the clone method in Photoshop to remove dust spots. I will adopt the above method when appropriate.
Dust spots removed in Lightroom


I consider it acceptable to remove dust spots like this from an image because when I viewed the original image, there was no dust present to the naked eye. I was quite happy to remove it.


N.B. The difference in these two images is not intentional. The JPEG was uploaded straight to Google Picassa from my computer with no processing. The RAW and JPEG image were looked at together as one image in Lightroom, exported back to my pictures and uploaded to Google Picassa. The only alteration made was the dust spot removal. I think the difference in brightness and contrast is that between the unprocessed RAW and the JPEG images.

Lens flare
Unable to find an image on the OCA  student website, I searched through some images of mine for lens flare. This was taken last year when I was learning about edge lighting and I kept it for reference of how not to achieve edge lighting.

This image would normally have been deleted because I think the lens flare detracts from the image. There are occasions where it can be used to add impact and creativity. My son had a BMX poster on his bedroom wall with the rider in mid air with a lens flare which added some drama to the image.

18/1/14 Revisiting Chase Jarvis's website, I noticed that he had a few images where he used lens flare to enhance his images. It made me question whether it enhanced or took away anything from the image. Personally it is not a style I would adopt for this image because I would prefer to see the runners, but it shows the weather conditions of the moment. Scrolling forward to the runner on the beach, I appreciate the lens flare and position of the sun because it adds a drama to the runner.

I opened the image in Photoshop as a JPEG > duplicate layer > clone stamp > selected darker, similar area and removed polygons > flatten image

I also considered what this image would look like if I used the image without the polygons and applied an S curve to bring out the detail. The wall looks more three dimensional but the lens flare is still distracting. So this image should be binned.

(No further alterations applied)

Original     


lens polygons removed 


S Curve applied